Tuesday, October 28, 2014

World's Best Granola Recipe...

Today was the first day I have felt chilly! My lovely endless summer may be ending...:( I still refuse to turn on the furnace. I'm going to go into winter kicking and screaming. Okay, so what if I am wrapped up in a blanket? I'm not turning the furnace on yet!
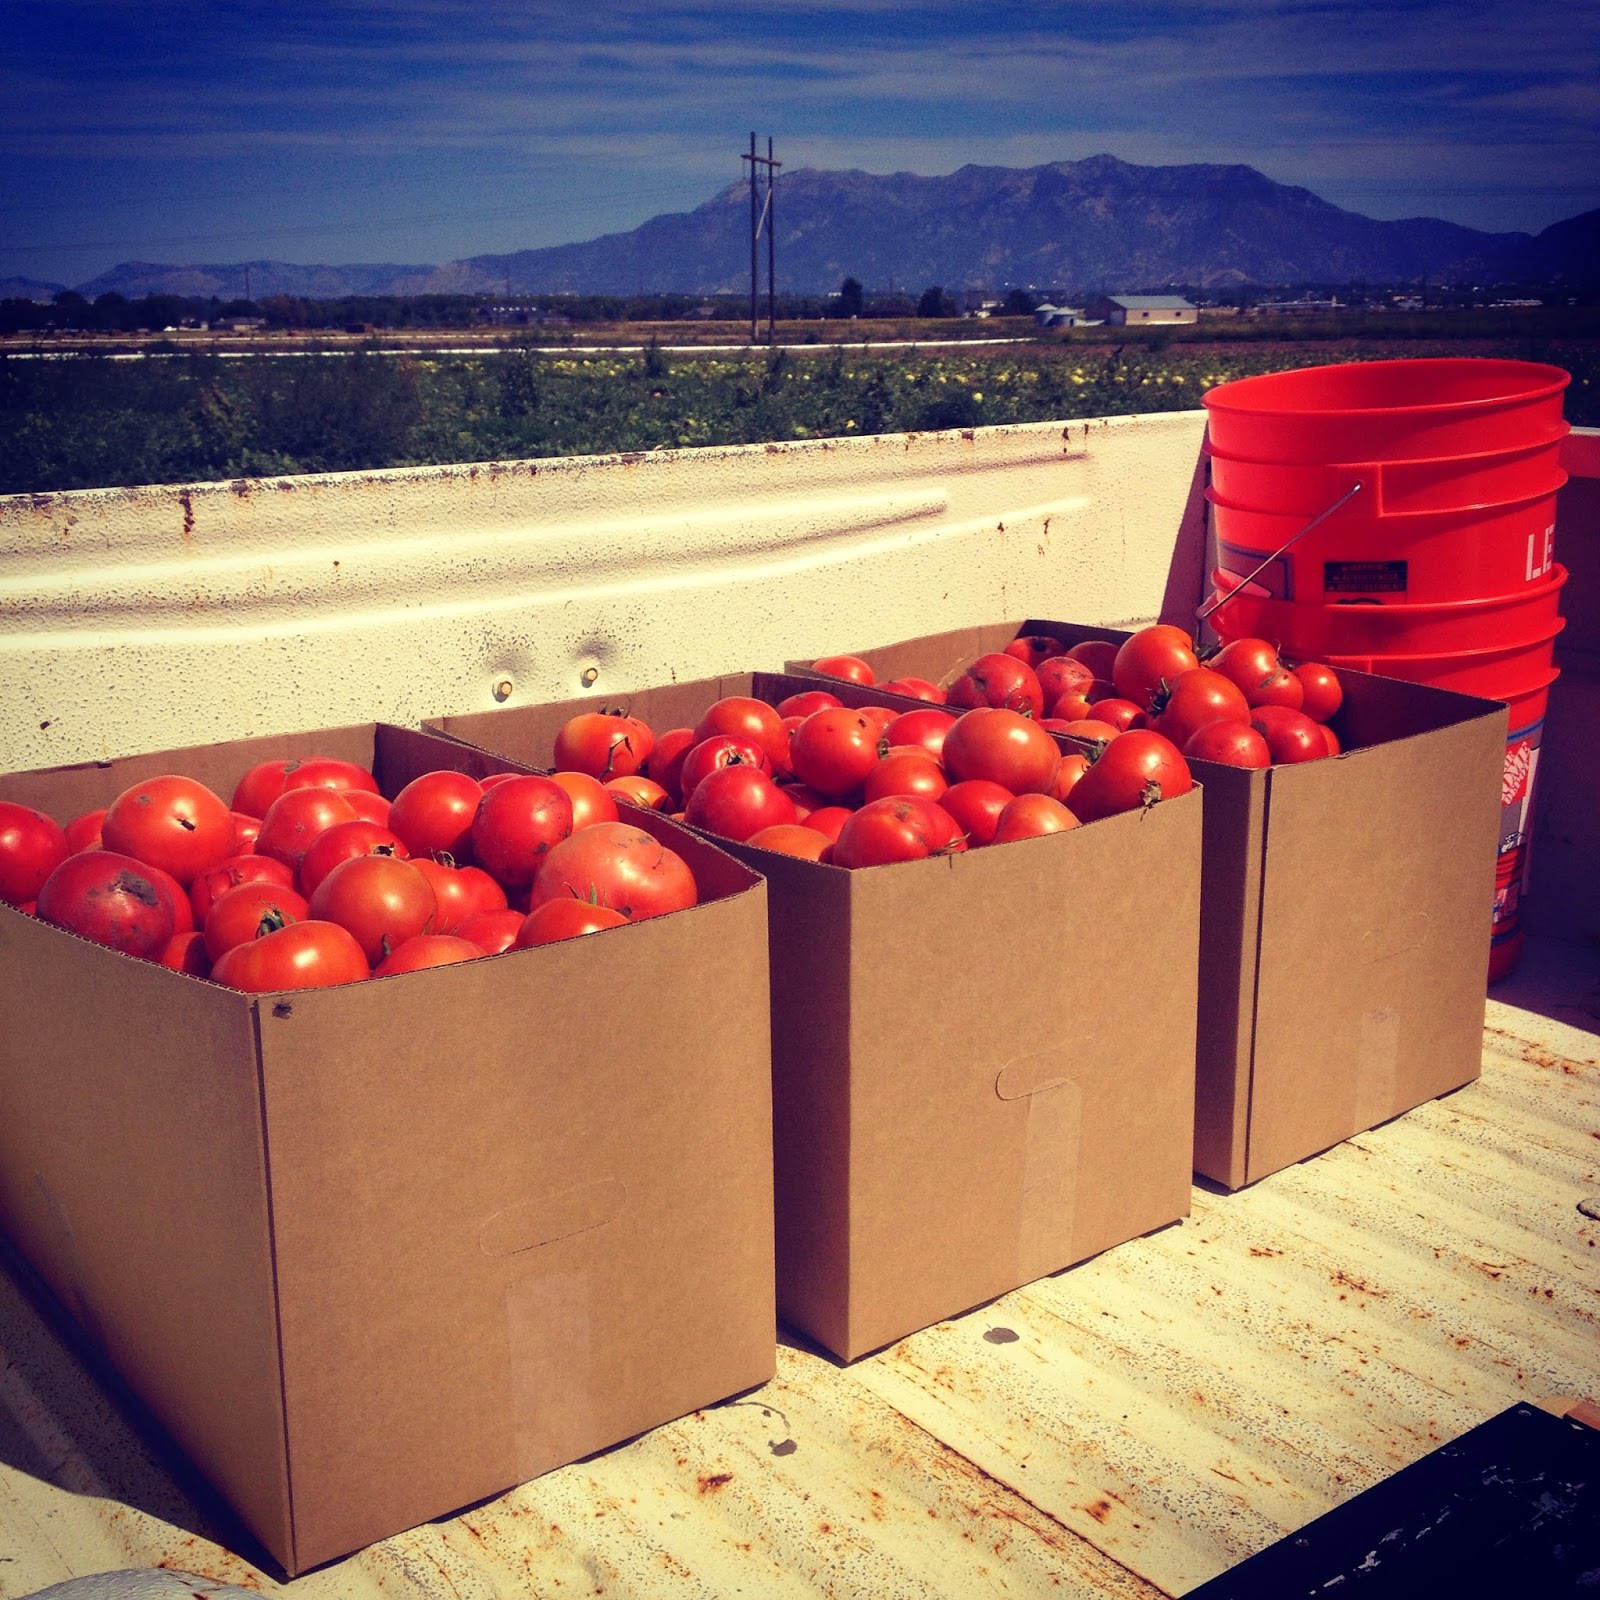
I took a walk through the square foot garden today. The tomatoes lost their life last night. I had mixed emotions about that. Honestly...I am pretty tired of tomatoes! Still...it was hard to say good-bye and send them to their tomato grave. The Brussels sprouts are still thriving in the cool weather. We may get another cabbage if we are lucky. I picked the last hearty little green pepper and ate it for dinner. The newly planted spinach and lettuce are still doing well. I am keeping my fingers crossed...
Since there is a "chill" in the house I decided to combat it by turning on the oven. I wanted to make a batch of granola.
When I titled this, "World's Best Granola", I am totally serious...I've eaten a lot of granola in the world and this is definitely the best.
I don't think they invented granola until I was in my teens. (That may or may not be accurate)...
I DO remember when my Mom got on a "health food" kick and made this "granola" stuff for the first time. I have no idea where she got the recipe. It seemed to me a pretty radical idea...like maybe my Mom was turning into some kind of hippie or something. Especially when she bought some of the ingredients at a "health food" store.
Well...this recipe has survived the test of time. I love it every time I make it. It seems to be a "Fall" thing for me. I usually dig out the recipe about this time every year. Probably because the house needs warming up and I refuse to turn on the furnace.

I have made one change since my Mom brought home this recipe. Back in the day we used vegetable oil. I have now subbed that for coconut oil. Coconut oil works really well and I personally think it's a much better choice. I don't think they'd invented coconut oil back then...I'm serious.


Mix all the dry ingredients together in a large mixing bowl.


Coconut oil and our amazing homegrown raw honey...the only "wet" ingredients.


Slowly warm the oil and honey until the honey is thin.


Stir the warmed liquid into the dry ingredients and spread out on a large cookie sheet lined with parchment paper. Have we talked about parchment paper? I <3 parchment paper! It is one of my favorite kitchen tools. I have a silpat and have to say, I much prefer the parchment!


A snapshot while in the oven. I thought that was a little "Alton Brown-ish".


I keep it in Mason jars in the cupboard. In all honesty...we eat it really fast! My favorite is plain, full fat Greek yogurt topped with this "World's Best Granola"...sometimes I drizzle a bit more of our award winning honey on it! ;)

World's Best Granola

4 cups uncooked organic rolled oats
1 cup raw wheat germ
1 cup unsweetened shredded coconut (Trader Joe's has one I really like that is toasted)
1/4 cup sesame seeds
1/2 tsp. sea salt
1 cup coconut oil
3/4 cup honey (watch out for store bought honey...read the label...some are adding HFCS!)
2 cups of assorted fruit, nuts and seeds
Combine all dry ingredients. Mix oil and honey together in pan and warm until honey is thin. Stir well into dry mixture. (Stir a few times during baking and while cooling)
Bake at 350 degrees Fahrenheit for 20 minutes
Use any of the following: raisins, apples, apricots, sunflower or pumpkin seeds, pecans, cashews, dates, flax seed and anything else you might like

I used dried cranberries, raw pecans, raw cashews, black sesame seeds and golden flax seeds for this batch. Can't wait for breakfast in the morning!

Friday, October 24, 2014

Beginner Beekeeping...The Harvest


Beekeeping has been incredibly rewarding. Bees are magical, selfless little creatures that work for the common good. Their colonies are fascinating, industrious and unique. We have fallen in love with our bees.
First year beekeepers often don't get a honey harvest. Or, they get a very small harvest as the colonies are new and need to have the honey they produce the first year for themselves. We were more than happy to provide them all they need to get a good start and survive our sometimes harsh winters.
Labor Day is often the time it is suggested to check on the bees, evaluate the honey stash and begin thinking about the upcoming Fall and Winter. If there is extra honey it is time to harvest.
Hubs planned a warm sunny day to meet with our "bee mentor" and check on what was up in the hives. I secretly hoped we would at least get enough honey to taste what our bees had been up to all summer, but was content to let them have all they needed as their own.
I wasn't home the day Hubs and The Mentor suited up and headed out to the hives. I wish I had been.
Harvesting honey is a big job and takes 2 or 3 people. In all honestly...we weren't completely prepared for what transpired. We weren't expecting a honey harvest.
From what I have been told...there was HUGE excitement when the hives were opened up! There was honey galore! Rich, fragrant honey abounded. Honey in every nook and granny and frame! Thousands of buzzing bees producing this nectar of the gods.
Our Mentor was a bit shocked and surprised! He indicated the bees were almost "honey bound"! A term referring to so much honey they had little room to work! He asked Hubs to get the "honey box". Huh??? We don't have one! We weren't expecting a harvest! I hear they scrambled and improvised and pulled 11 frames of closely guarded honey! The bees weren't quite as docile as usual. They didn't seem thrilled their honey was being robbed!
Hubs called me with high levels of excitement. He was surprised, he was thrilled, he was kind of having an adrenaline high. It took a few hours to harvest this beautiful golden treasure. We weren't prepared! Next year we will be!


Frames of honey. Capped with beeswax. Have I mentioned how amazing bees are???


A frame of our uncapped lovely golden gift.

We took it to another "bee"friend who runs a little beekeeping shop and has a honey extractor. No heat involved. This is raw, minimally filtered honey. As nature intended...with all the amazing benefits of raw local honey!


Isn't it gorgeous???! Liquid gold for sure! Oh...did I mention how it tastes??? It's unbelievably good! No, really...it's outrageous. It's thick and gooey and sweet with a hint of clover and lush flowers.


We ended up with about 35 pounds of amazing honey! Woot Woot!!!


The raw beeswax...oh, the possibilities! Candles and balms and salves! Wait...do you see how amazing bees are???


Cubes of beeswax ready for some fun...It is surprisingly firm and smells really yummy.


One of my beeswax projects...skin salve. I LOVE working with the beeswax. I'm still amazed at all the products our bees are blessing us with!

We also decided to experiment with a few "foundation less" frames in hopes of getting some legit honeycomb! A few members of the family were feeling nostalgic and remembered chewing on honeycomb when they were kids. We decided to accommodate and see what happened! Harvesting these frames was more difficult and I'm not sure we will do it again for awhile. The upside??? We had some pretty excited family members!


Pretty spectacular! Those bees are something else! Squares of unique honeycomb...


We bottled some of the honeycomb and filled the jars up with extra honey from the frames. We sold some to the local farmer. It sold out quickly at his farm stand.

We are pretty proud of our first year honey. I guess we can't take much credit for it as the bees really do all the work! I'm not lying when I tell you it is truly amazing and the taste is beyond description. On a whim I decided to enter it into our State Fair! Ha...yeah, I'm that proud of it!


See...you don't have to just take my word for it! 4th place in the amber category. Oh, and I won $4.00!
Beekeeping...so rewarding! #savethebees

Monday, October 13, 2014

What To Do With All Those Tomatoes! Fall Harvest...Preserving the Bounty!

We have had an usually long temperate summer...blue skies, occasional refreshing rains, warm temps and an uninterrupted growing season! It's now mid-October and it continues. No frost yet. I'm sure it will happen soon, but another balmy week is in the forecast.
I would be lying if I didn't admit that I've prayed for a frost or two! The tomatoes have and continue to be overwhelming. I'm seriously grateful for what my tomato plants have produced this year...but, enough already! The plants are huge and overflowing with all shapes, sizes and ripeness levels in the tomato kingdom outside my door. On top of this...we, in our insanity, picked three bushels of ripe tomatoes for our annual "Tomato Palooza 2014" canning event.


Picking tomatoes with a 3 year old was a "fun?" adventure. We all ended up with squished tomatoes all over our shoes...still...at least that Sprout knows where a tomato comes from! Also...on that upside...she knows what a tomato is!


Something incredibly satisfying about bottling your own tomatoes. We successfully canned 55 bottles of these red beauties. We split them between our 3 little families and they are seriously cherished and enjoyed through out the coming year. Once we invested in our glass bottles the cost of canning each year is minimal. A tad of salt, a drizzle of lemon juice and tomatoes. We were able to pick our own tomatoes at a local farm for the brilliant price of $13.00 per full bushel...I figure (loosely) that these beautiful  quart bottles of tomatoes cost us just under a buck each! We also don't have to worry about that pesky BPA coating in commercial canned tomatoes. We don't need to be consuming neuroendocrine disruptor's in our marinara. Most of the big names in canning supplies are now making lids BPA free as well...

Hubs wanted to grow San Marzano variety tomatoes...or...Roma's...they are firm and fleshy and good for making marinara sauce, paste, pizza sauce, etc.


Roma's with a few cherry tomatoes...I have picked and processed Roma tomatoes until I have wanted to cry...I'm sad to admit that. I don't want any to go to waste and feel compelled to somehow preserve them...this in turn causes me to want to cry!


Pretty much every other day I have been able to go out and pick enough tomatoes to roast and freeze. I would also pick Mexican oregano, rosemary, basil and lemon thyme. Add our own peeled garlic, salt and pepper and a drizzle of olive oil and you have the fixin's for some fine roasted tomatoes!


If you want your house to smell really, really delish...pop a cookie sheet full of these garden fresh ingredients into your oven for 5 hours at 275F degrees. My freezer is chock full of these!

But...those tomatoes...they just keep growing!!!


Out of desperation I decided to dry some in my food dehydrator...Then I added them to a cute bale jar and topped it off with olive oil...

Oh, I know...how about making some ketchup???

 I assembled the "plethora" of spices and measured them all into a little bowl.

 Cooking down the pot of tomatoes...again, produces a really great smell in your house!


I used the ketchup recipe found in my favorite cookbook, "The Homemade Pantry" by Alana Chernila. Again...I walked out to my garden and picked a variety of fresh tomatoes. Ketchup takes awhile to make and has a boatload of spices in it. Still...it was an especially satisfying project and I'm in LOVE with the results. It's really, really good! I think I won't be buying store bought ketchup anytime soon...

And again...the tomatoes keep growing and ripening...sigh...(thank you Mother Nature! I seriously love the tomato bounty and will cherish these throughout the winter...I'm just running out of ideas and storage space!)

Oh, how about "honeyed-yellow tomato butter"? Sure...why not?! I just happen to have a yellow tomato variety growing in my square foot garden...


I found this recipe thumbing through the "Ball Blue Book of Canning". Who knew such a recipe would exist. I guess written for those desperate for one more thing to turn tomatoes into?!

I improvised and added "Chinese Five Spice" to the little bag of spices called for. I thought it would go well with a tomato based butter. Good call...it was pretty spectacular!


It took almost forever to cook down and turn into butter. Upside...it is quite delicious and you would never guess it was a tomato based butter! It has been getting rave reviews!

And still...the tomatoes thrive and grow...Supposed to hit 80F degrees...again...tomorrow...sigh...
I guess I better wrap this up and get out to the garden!!!


Monday, September 8, 2014

Sauerkraut...a foray into the gurgling under belly of fermentation!

Sauerkraut...! Fermented cabbage! A living, breathing mass of shredded cabbage! (Well, almost anyway!) I'm sure you know by now that fermentation and fermented foods are all the rage. And, I don't just mean your favorite beer! Although if you have made beer or are drinking a beer you know what fermentation is all about...
I have wanted to enter the dark and mysterious world of fermented food. I briefly considered the idea of making my own kombucha. I really like the kombucha I can buy at the grocery store. It's pretty tasty and a lot like a soury soda pop...well, maybe not exactly like that. If you haven't tried one, you should.
I looked at a few YouTube videos on making your own kombucha. I'm sorry to admit it scared me off. Never say never...I may re-visit it someday. Still...that whole "mother" thing is a bit overwhelming to me. The whole "mother" birthing babies thing is completely out of my comfort zone. I tried to picture it all in my mind and I just wasn't sure how I would handle all those babies! Anyway...back to the sauerkraut. Please don't hate me...I really just don't care for fermented cabbage. I want to like it. I really do! I plan on learning to like it...someday...but...Hubs LOVES living cabbage!
We planted eight cabbage plants in our squarefoot garden this year. Four purple cabbages and four traditional green cabbages. Oddly, we didn't get any actual purple cabbage from our purple plants. I was pretty bummed about this. Oddly, we got EIGHT traditional cabbages from our 4 green plants. Go figure!
Nature is always really good at surprising me and giving me things to think about...


The first cabbage that came along ended up in a spicy sausage and cabbage soup! It was really yummy.
Then I went out one morning and was greeted by two more green cabbages. They were quite large. It was a bit of a battle twisting them off the stalk. It's an added bonus that our chickens like the cabbage plant leaves. Two cabbages is a lot to have hanging around the kitchen and I didn't want to waste them...
Now was the time to jump into the fermentation pot with both feet...so to speak...
I read several sauerkraut recipes and realized it may not be an exact science. There seem to be several different methods for making this stuff.
I settled on the method used by Sandor Katz. This Sandor Katz is a pretty cool "cat". He is a fermentation guru and has a really interesting story. I highly recommend reading about him and his ideas. Here is a link to his recipe for sauerkraut...

http://www.wildfermentation.com/making-sauerkraut-2/

I purchased a large pickling crock last summer with the intention of making pickles. That has yet to happen...you know..."the road to hell is paved with good intentions"! I'm well on my way...
I've been dying to use this amazing crock and figured now would be a good time.
I washed the two cabbages and took off the outer leaves. I was visited by a couple of earwigs that had taken up residence inside these cabbages. I'm always a bit shocked and surprised by some of the critters living in an organic garden. Please don't let this deter you!
I took a large sharp knife and finely shredded the cabbages. It seemed like a lot of cabbage. I added the recommended salt and started to massage it through the shreds. Sauerkraut is basically a two ingredient dish...cabbage and salt!
As per instructions you work the salt through the cabbage quite roughly until it starts weeping and making brine.


I used a potato masher as well as my hands. The idea is to get enough liquid brine to cover the cabbage.
Then I transferred it to my HUGE crock. In reality the crock was much larger than I needed for this amount of cabbage. Still...I really wanted to try it out.


I tossed it all in the crock and added a ceramic plate on top of the cabbage. Then, I weighed it down with a jar of jam!


Every time I walked passed the crock I pressed down on the jam jar to release more and more briney liquid. It took about 24 hours until there was enough brine to cover the cabbage. I had covered the crock with a clean dish towel as per Mr. Katz...


I continued the occasional plate pressing for 10 days. There was a bit of bubbling happening around the edges. Several recipes I read indicated it could be ready in 10 days. I rounded up Hubs for a tasting...
I put a small amount of the sauerkraut on a fork and helped it into his mouth. I was excited and expectant for the oohs and ahhs...sadly, instead he grimaced!!! What??? I was so bummed! He said it was VERY salty! Ugh...So, I referred back to my research and found that if it tastes salty it isn't fermented enough yet and to leave it for several more days....I crossed my fingers that all was not lost.
Each day I continued to press on the plate as I passed the crock and hoped for the best.
On day 16 I talked Hubs into another tasting...he was very brave...This time there was no grimace! He looked kind of surprised...he said, "it's pretty good"!  I was soooo relieved...we decided to let it ferment for a few more days. I realized that as I walked passed the crock it was started to have kind of a "beer like" smell! Not a bad smell, but sort of yeasty and well...fermented smelling! On day 19 I rounded up Hubs for another tasting. This time he felt it was just right...


This is what it looked like in the bottom depths of the giant crock pot on day 19. I stirred it all up and bottled it in a bale jar....


It is residing nicely in my refrigerator and can stay there for several weeks. I have since gifted a few half pints to sauerkraut loving friends...
All in all I think it was a success...fermentation does fascinate me. With the fine line between being alive and healthy and gross and moldy! Sorry...but that's the reality folks...
I'm planning on more fermentation adventures in the future...Wild yeast? Kimchi? I'll keep you posted...

Wednesday, August 20, 2014

Garden to Table...Pizza Night

It was our turn to host our monthly pizza night. We have successfully been having pizza night for almost 5 years now. Each month we rotate with the 4 families involved in this amazing and fun activity.
It happened to be our month at the height of our organic garden growing season.


I can't lie! Our garden is the bomb...it's seriously awesome. I LOVE square foot gardening. Not only does it grow large amounts of produce...it is gorgeous to look at! I can't believe the food we have picked and pulled from this garden since late March...literally a dream come true!

Each day I wander around this little patch of amazing and decide what we will have for dinner based on what is available. I'm blown away at the fresh, organic and delicious meals we have put together based on garden fresh ingredients. I couldn't wait to make our garden to table pizza night a reality!

Our goal was to use as much as possibly from the garden. What we didn't have, i.e. cheeses and meats, we would source locally. The flour for the pizza dough was organic and sourced from a local flour conglomerate. We bought freshly made mozzarella from a local grocer. (Making mozzarella is on my short list!)  Our tomato sauce was made from our own bottled tomatoes.

I took a wander through the garden and came up with some impressive pizza toppings!


Fresh zucchini and summer squash and a variety of tomatoes...


I roasted 2 beet varieties in the oven and then peeled and thinly sliced...


A variety of fresh herbs...basil, oregano, thyme and rosemary...(the smell is other worldly!)


Some fresh chives and pine nuts...(sadly, the pine nuts are not local but a must for a margherita pizza)


Hubs is in charge of the pizza sauce and dough. The sauce is made with our own bottled tomatoes. (Learning to bottle tomatoes was one of the smartest things I EVER did!)

Have I mentioned this was a dream come true?!?


Fresh tomato and mozzarella pizza...


Hubs elected to make the pizzas on the outdoor grill. Good choice for a lovely summer night. Did I mention we made a few pizzas with my homemade pesto? I made arugula and pecan pesto when the arugula was thriving and froze it. Good move...it was delish!


Roasted beet pizza...it was a hit!


Tomato and fresh mozzarella...yeah, it was really good!


Squash and herb with artichoke hearts and pine nuts...


What a perfect summer night with good friends, family and fresh organic food...it's very rewarding...

C'mon...if I can be successful at producing this healthy, tasty food, so can YOU! I can't recommend square foot gardening enough! It is so easy, little time and effort and HUGE reward...Do it!!!

Oh...and we had homemade raspberry syrup snow cones for dessert. Check out a previous post if you want to make that tasty fruit syrup for your lucky circle of friends!